
To share a dedicated SharePoint folder with external users, grant the appropriate group access to that folder, then send a People with existing access link. The steps below cover group setup, the direct link, and the recipient's sign-in experience.
When several partners or project folders are involved, the ongoing task is keeping track of who has access and what should change when the work ends. Protect Free brings guest users, groups, sharing links, and permission sources into one reviewable view. Protect Pro lets you apply approved permission changes to eligible selected entries.
Get Protect Free to review external folder access, or follow the SharePoint sharing steps first.
Before you share
Confirm that your organization's tenant and site policies allow sharing with the intended recipients, and that you can manage permissions on the target folder. Choose the access level the partner needs and agree who will review that access when the work ends.
A People with existing access link does not grant new access. Assign and verify the folder permissions before sending the link.
For Microsoft's explanation of link types and sharing settings, see Share SharePoint files or folders.
Create groups and add external users
We’ll cover two approaches:
Option 1: Use SharePoint groups
- Create a SharePoint group for each set of external users in your SharePoint site.
- Grant each SharePoint group access to its designated folder.
- Add external users to their appropriate SharePoint group. When external users are added, they typically receive an invitation email that includes a link to the site’s root - not directly to the intended folder.
Option 2: Use security groups in the Microsoft 365 admin center
- Work with IT to create security groups in Microsoft 365 Admin Center. For detailed instructions, see Create, edit, or delete a security group.
- Grant each security group access to its designated folder.
- Add external users as guest accounts to their corresponding Microsoft 365 security group.
Share the access link
Regardless of whether you used SharePoint groups or Microsoft 365 security groups, the next step is to share a direct link to the folder. This ensures external users can quickly access the correct location.
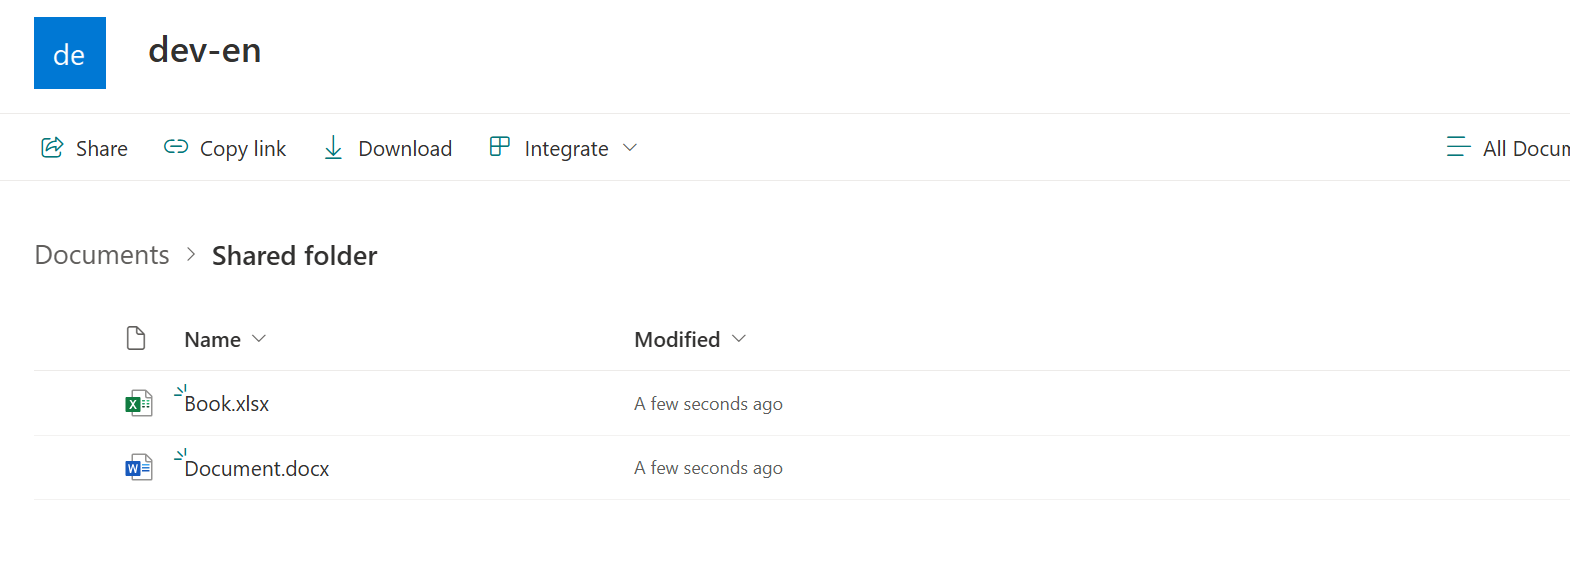
Select the folder you want to share and click Share.

In the Send Link window, click “Link Settings” to modify the link type.

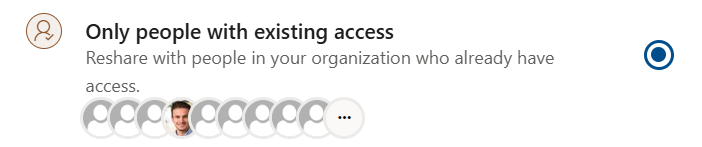
Choose “People with existing access” (this ensures only those already granted permissions in the group can access).
Enter the group (SharePoint group or security group) you want to notify and Click Send (or Copy link, then manually email it to your external users).
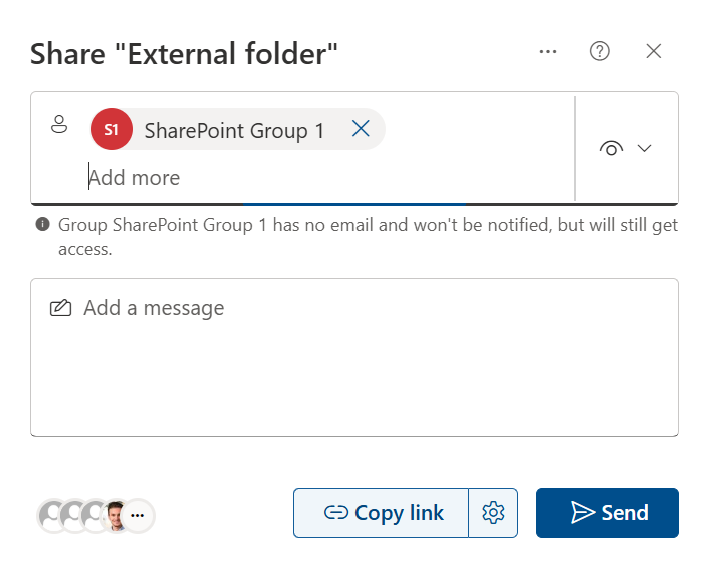
The external users will get an email containing a URL that takes them directly to the specific folder.
Before handing over the folder, review its current access in Protect. Check the intended group alongside any existing guests, links, or inherited assignments, then export the loaded permissions as a record for the project owner.
Experience for the recipient
When an external user receives a direct link, here’s what they can expect:
Open the shared link
The recipient receives an email or link shared by the Microsoft environment owner.
Click on the Open or Open in browser link provided.
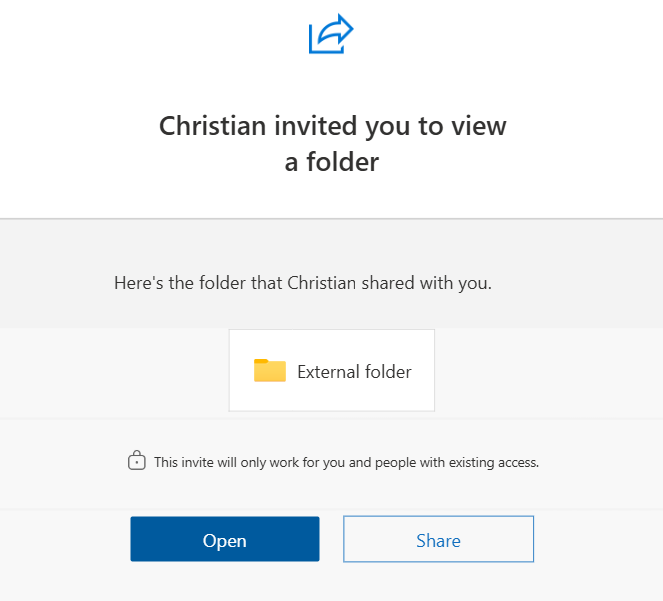
Option 1: Recipient has a Microsoft account
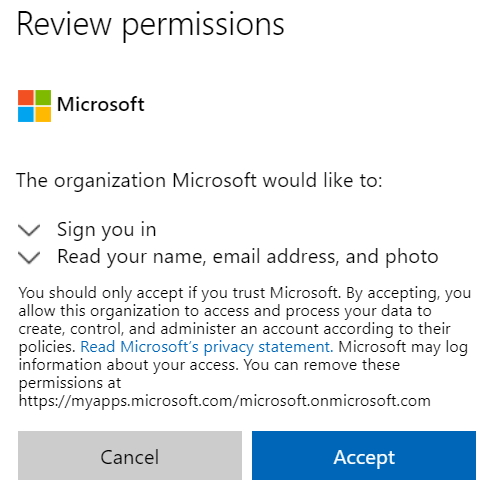
When someone who has a Microsoft account wants to access the content, Microsoft asks them to sign in to their account.
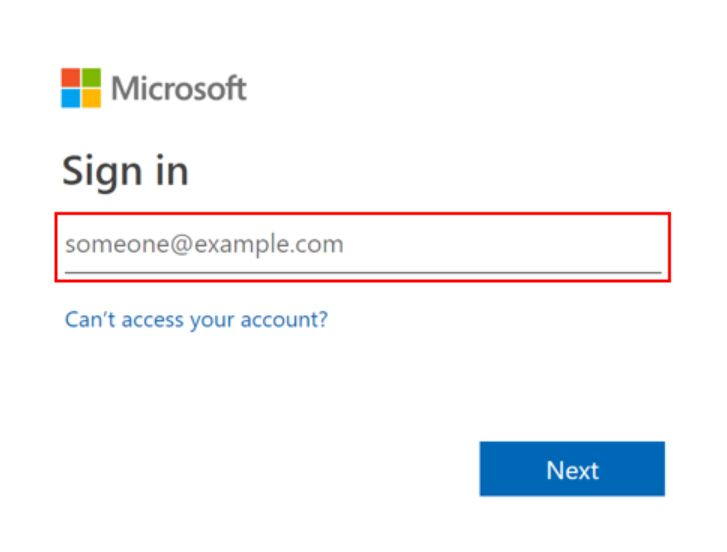
And requests permission to view their name, email address, and photo to verify their identity.
Option 2: Recipient doesn't have a Microsoft account
Non-Microsoft accounts can access the resources via a temporary passcode:
If prompted, enter the email address that the file or folder was shared with (your non-Microsoft email address).
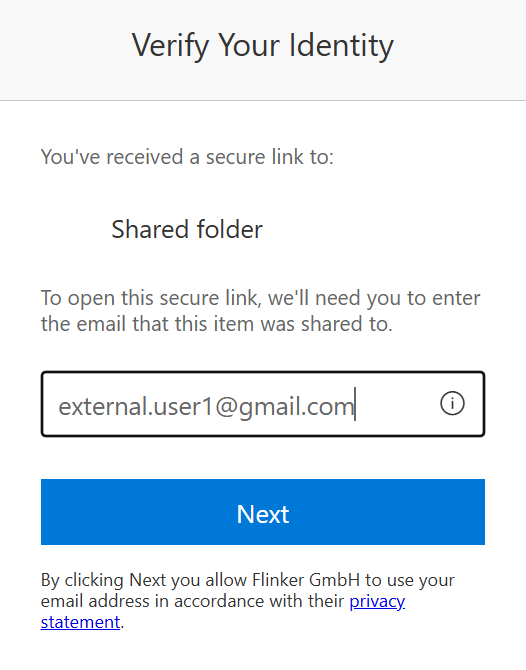
After entering your non-Microsoft email address, you will receive an email containing a verification code.
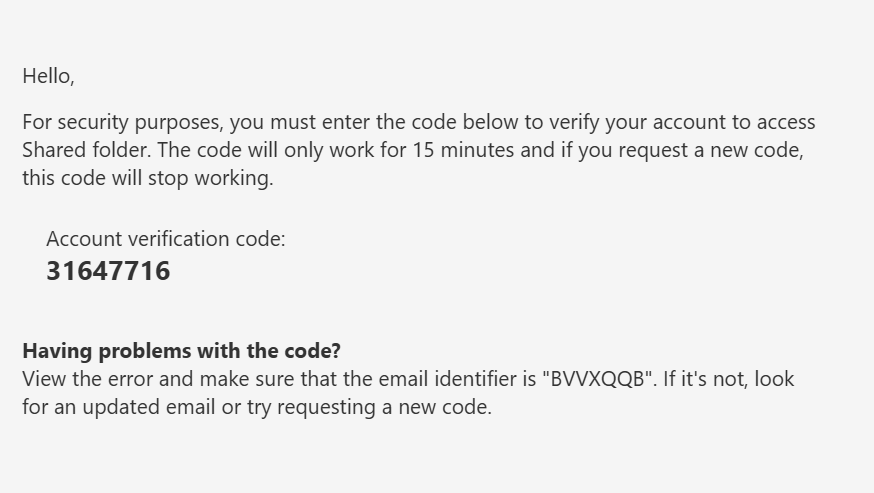
Copy the verification code from the email. Return to the browser tab or window where you were prompted to verify. Paste or type the code into the provided field.
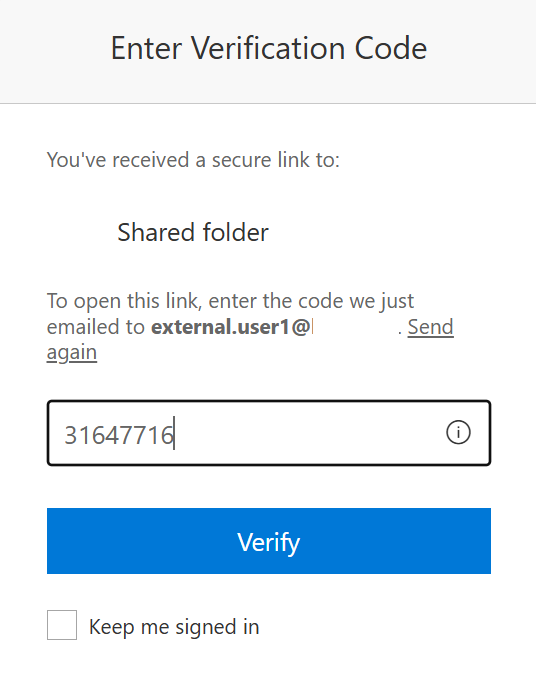
Once the code is verified, your non-Microsoft account is granted secure access to the shared content. You will now see the file or folder you were invited to view, edit, or collaborate on (depending on the permissions set by the owner).
Manage shared folders with Protect
Sharing the folder is the first step. As partners join, scopes change, and projects close, site owners need a repeatable way to review the audience and apply approved changes.
Protect puts the folder, principal, access level, and permission source in the same view. Use it at handover, during an access review, and when the external work ends:
| When you need to… | Use Protect to… | Plan |
|---|---|---|
| Check a partner's folder access | Review the assigned group, guests, sharing links, and inherited or custom access. | Free |
| Hand the review to the project owner | Export the loaded permission matrix to Excel. | Free |
| Change the approved audience or access level | Grant, change, or remove supported assignments in the appropriate scope; change eligible selected entries together. | Pro |
Once your administrator has deployed Protect, complete a folder review:
- Open the shared folder in SharePoint and select Manage permissions.
- Confirm the folder path and select Load nested sharing entries if its contents are in scope.
- Review the intended group's entries. Use Guest, People you choose, and Anyone with the link filters to inspect other external access paths.
- Check each entry's access level and whether it comes from the folder itself or an inherited parent.
- Select Export to Excel to keep a record of the loaded permissions and ask the owner to approve any changes.
- With Protect Pro and the necessary SharePoint rights, apply approved permission changes. Refresh and test the result with a representative recipient.
For example, when a consultant's assignment ends, review how their access is granted before removing it. If membership in a group is the source, update that membership through the appropriate group-management page. Removing a group assignment from a folder can affect everyone in that group.
Create and configure SharePoint sharing links through your organization's approved SharePoint sharing workflow. Protect works within the signed-in user's permissions and the tenant's sharing policies.
Start with one external-sharing review
Get Protect Free and review your shared folders. Permission reviews and Excel export are included. Use the first-review guide to start with one project folder.
When you're ready to make permission changes, compare Protect Free and Pro. Managing external collaboration across several projects? Discuss your folder-sharing workflow with our team.
Protect requires SharePoint Online, a Microsoft 365 work account, and administrator deployment. Your project files stay in Microsoft 365. Review the deployment steps and security and data boundaries with your administrator.